Mojave National Preserve- Lava Tubes

The Mojave National Preserve is a vast landscape full of Cinder Cones, Lava Flows, and Lava Tubes. The The Cinder Cones began erupting 7.6 million years ago and caused the rivers of lava flows that cross the preserve. Lava last flowed in the park only 10,000 years ago. Today the preserve is one of the best places to go hiking through lava tubes.

The road leading to the Lava Tube. You can see two Cinder Cones in the Background.

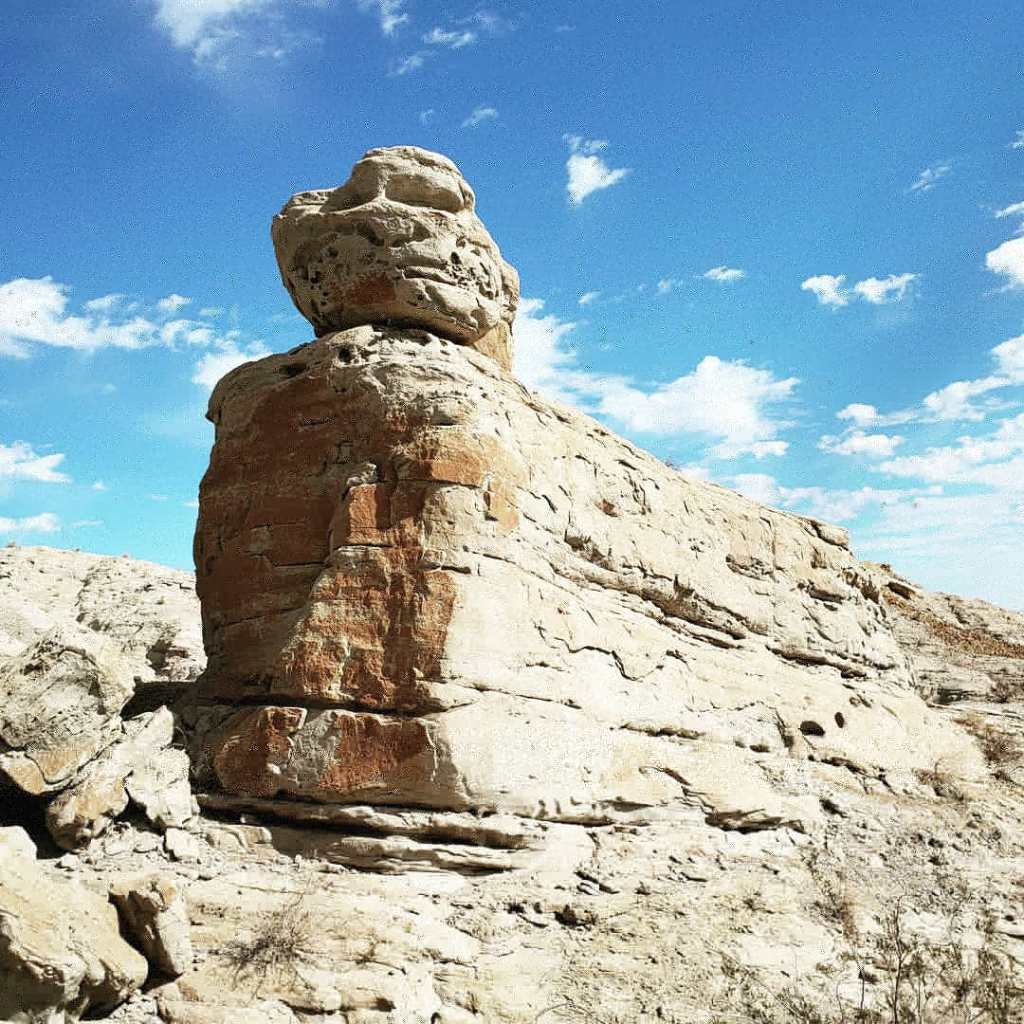
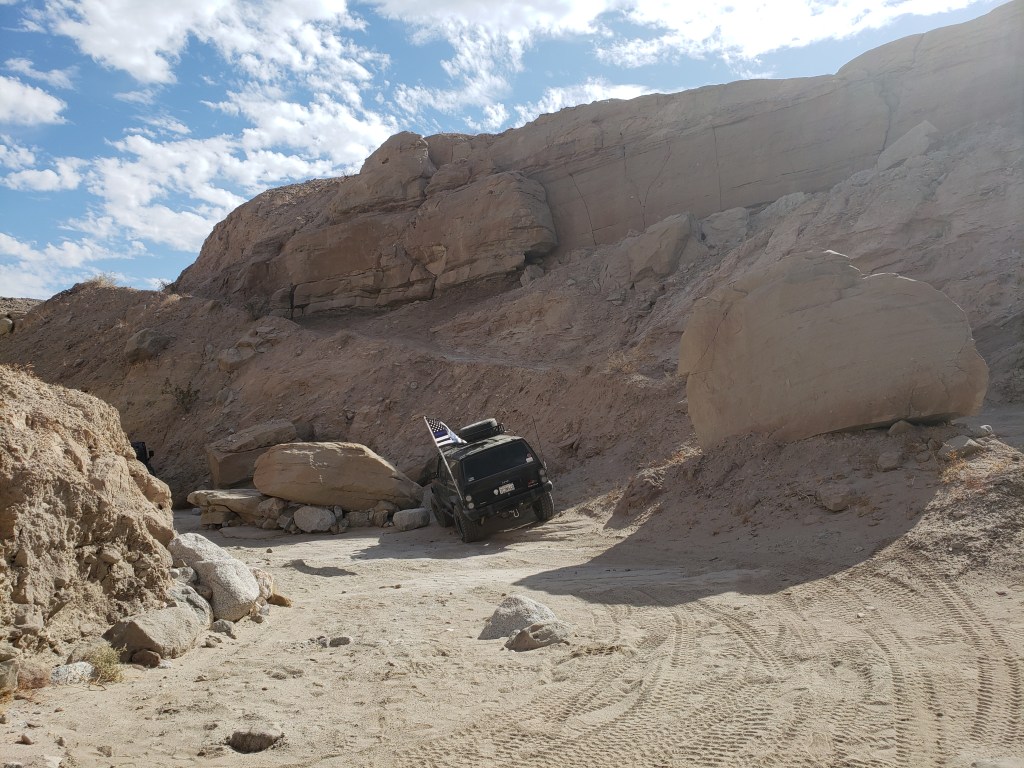
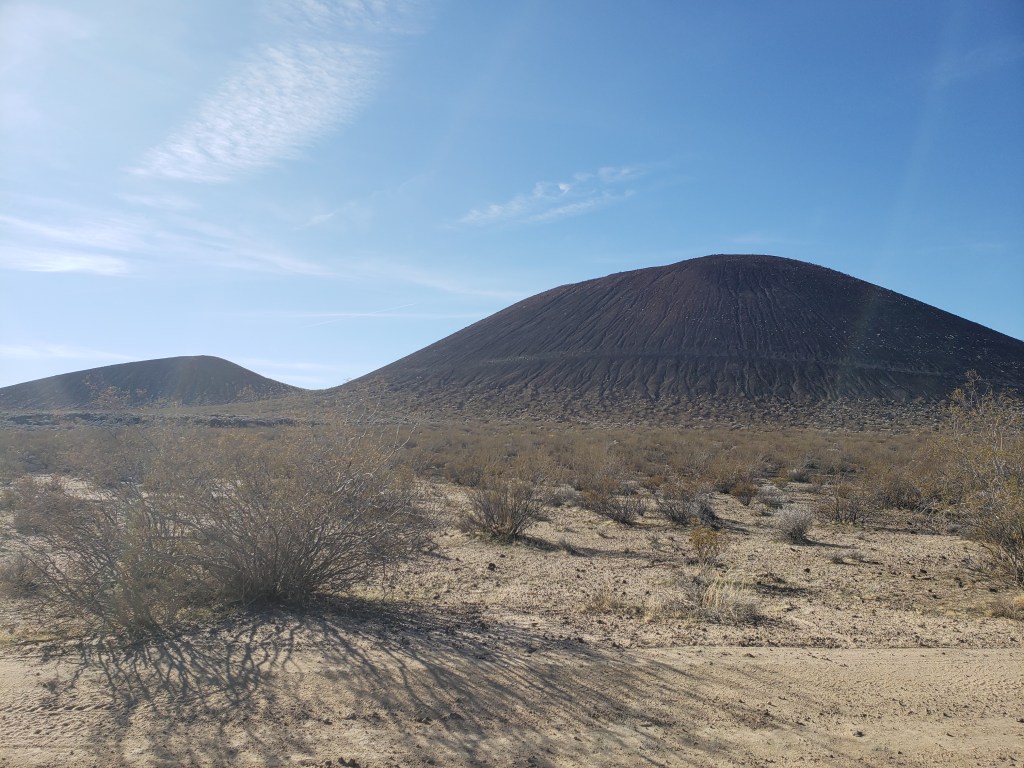
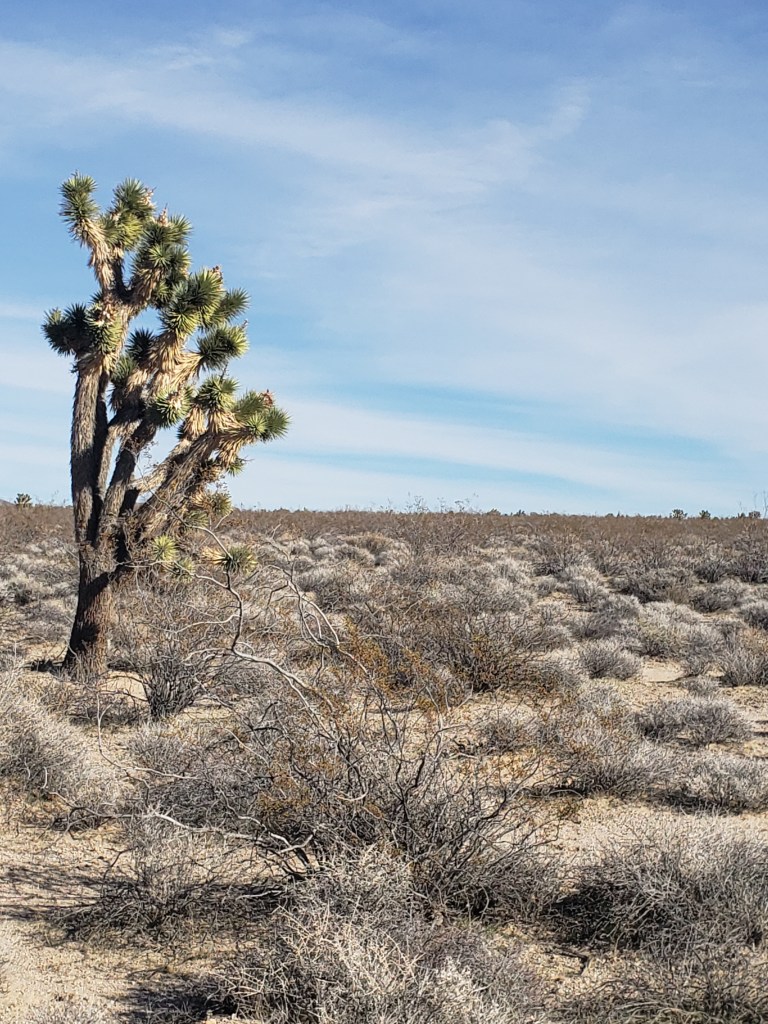
The Lava tube is accessible from a five mile drive from Kelbaker road. Be warned, this road is mostly dirt and is very bumpy. Our truck was rattling the whole way down the road. I recommend making stops along the way to take pictures of the Cinder Cones. You will also cross by one of the Lava Rivers that has since hardened into a beautiful rocky landscape. Also don’t forget to keep an eye out for Joshua Trees!

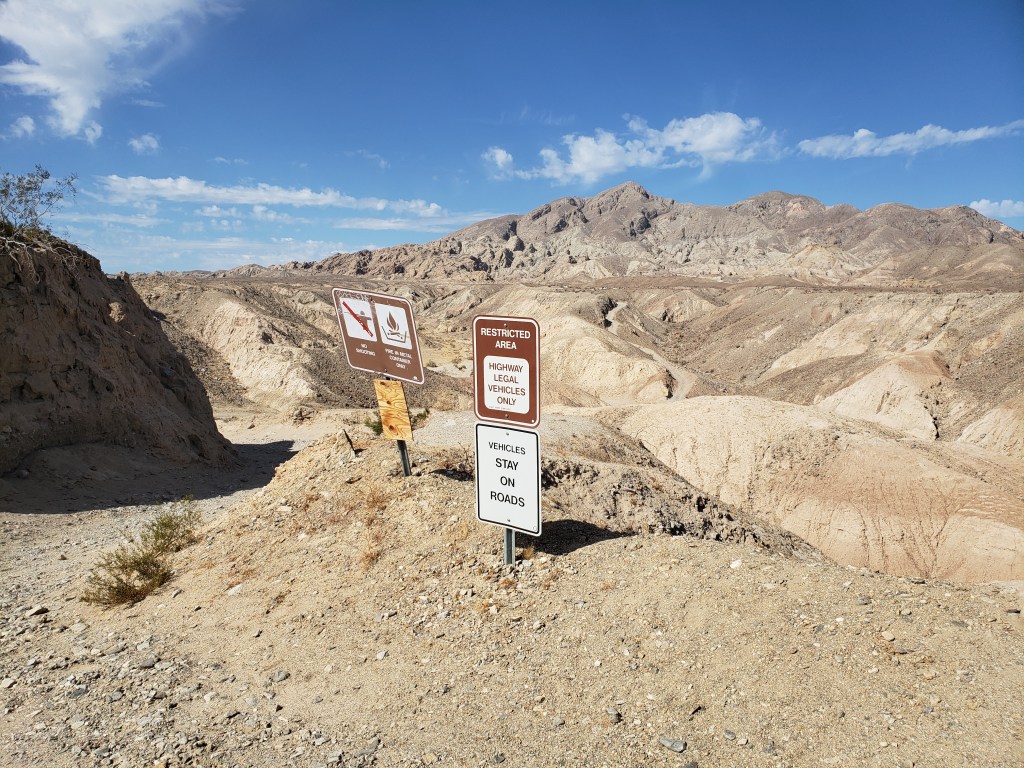
Once you arrive at the end of the dirt road you will need to park and hike the rest of the way to the Lava Tube. There is not a set parking lot for the hiking trail, just a turn around area. Please be aware that the Lava Tube is not maintained by the national park service so you are entering at your own risk.

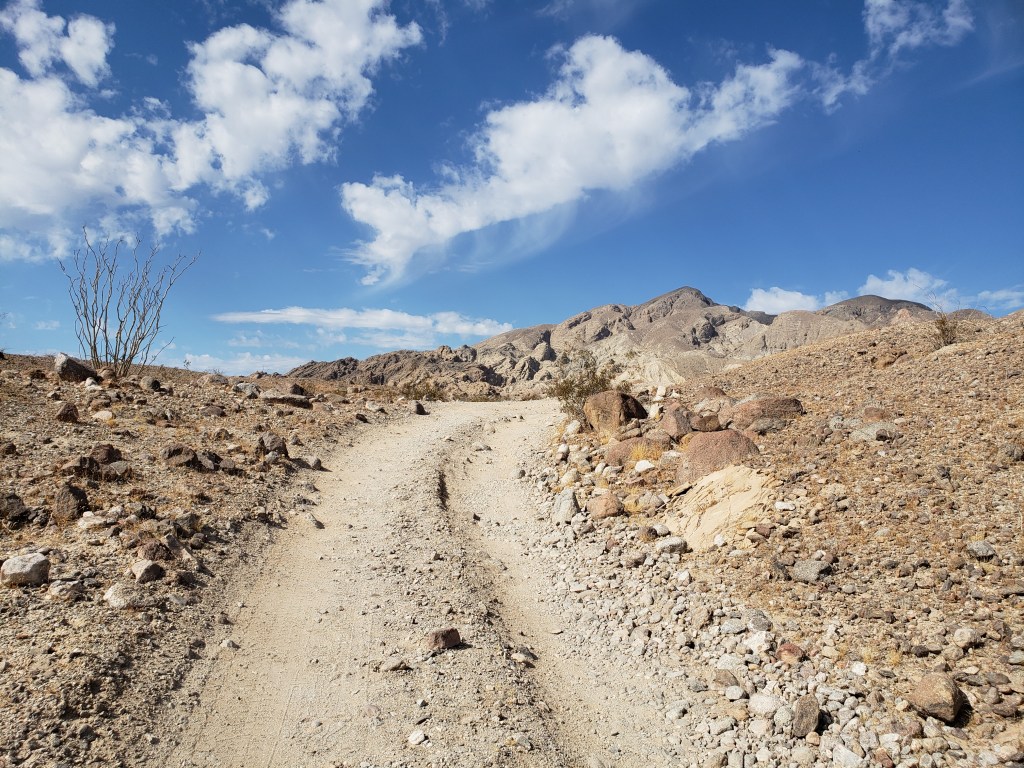
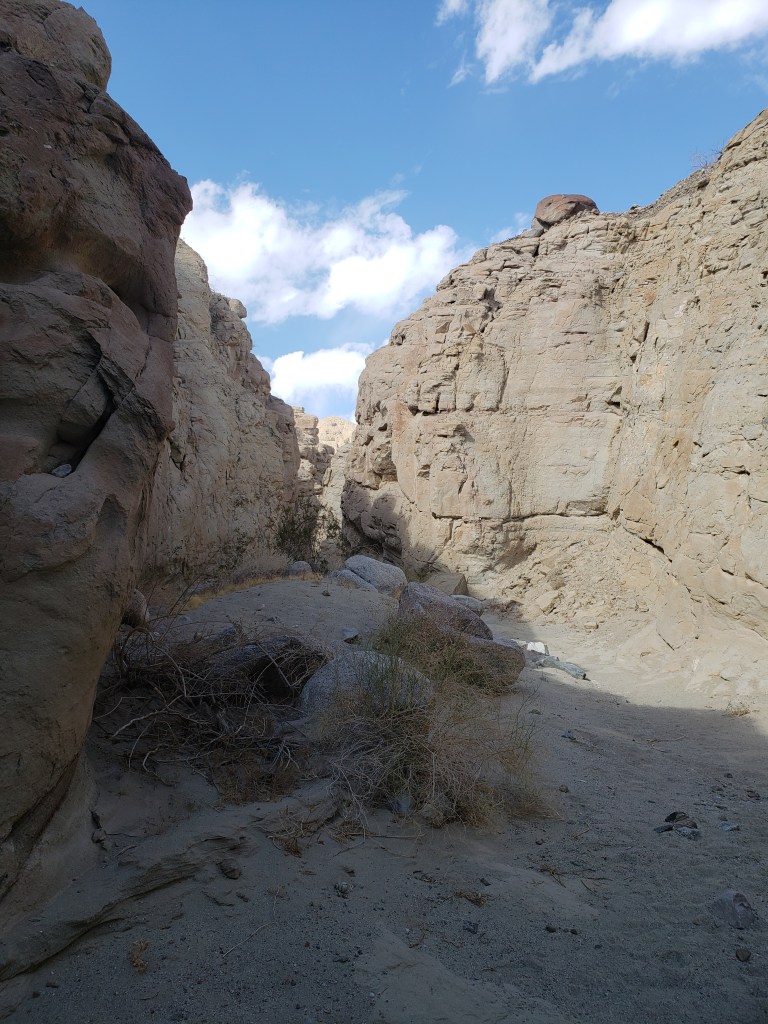
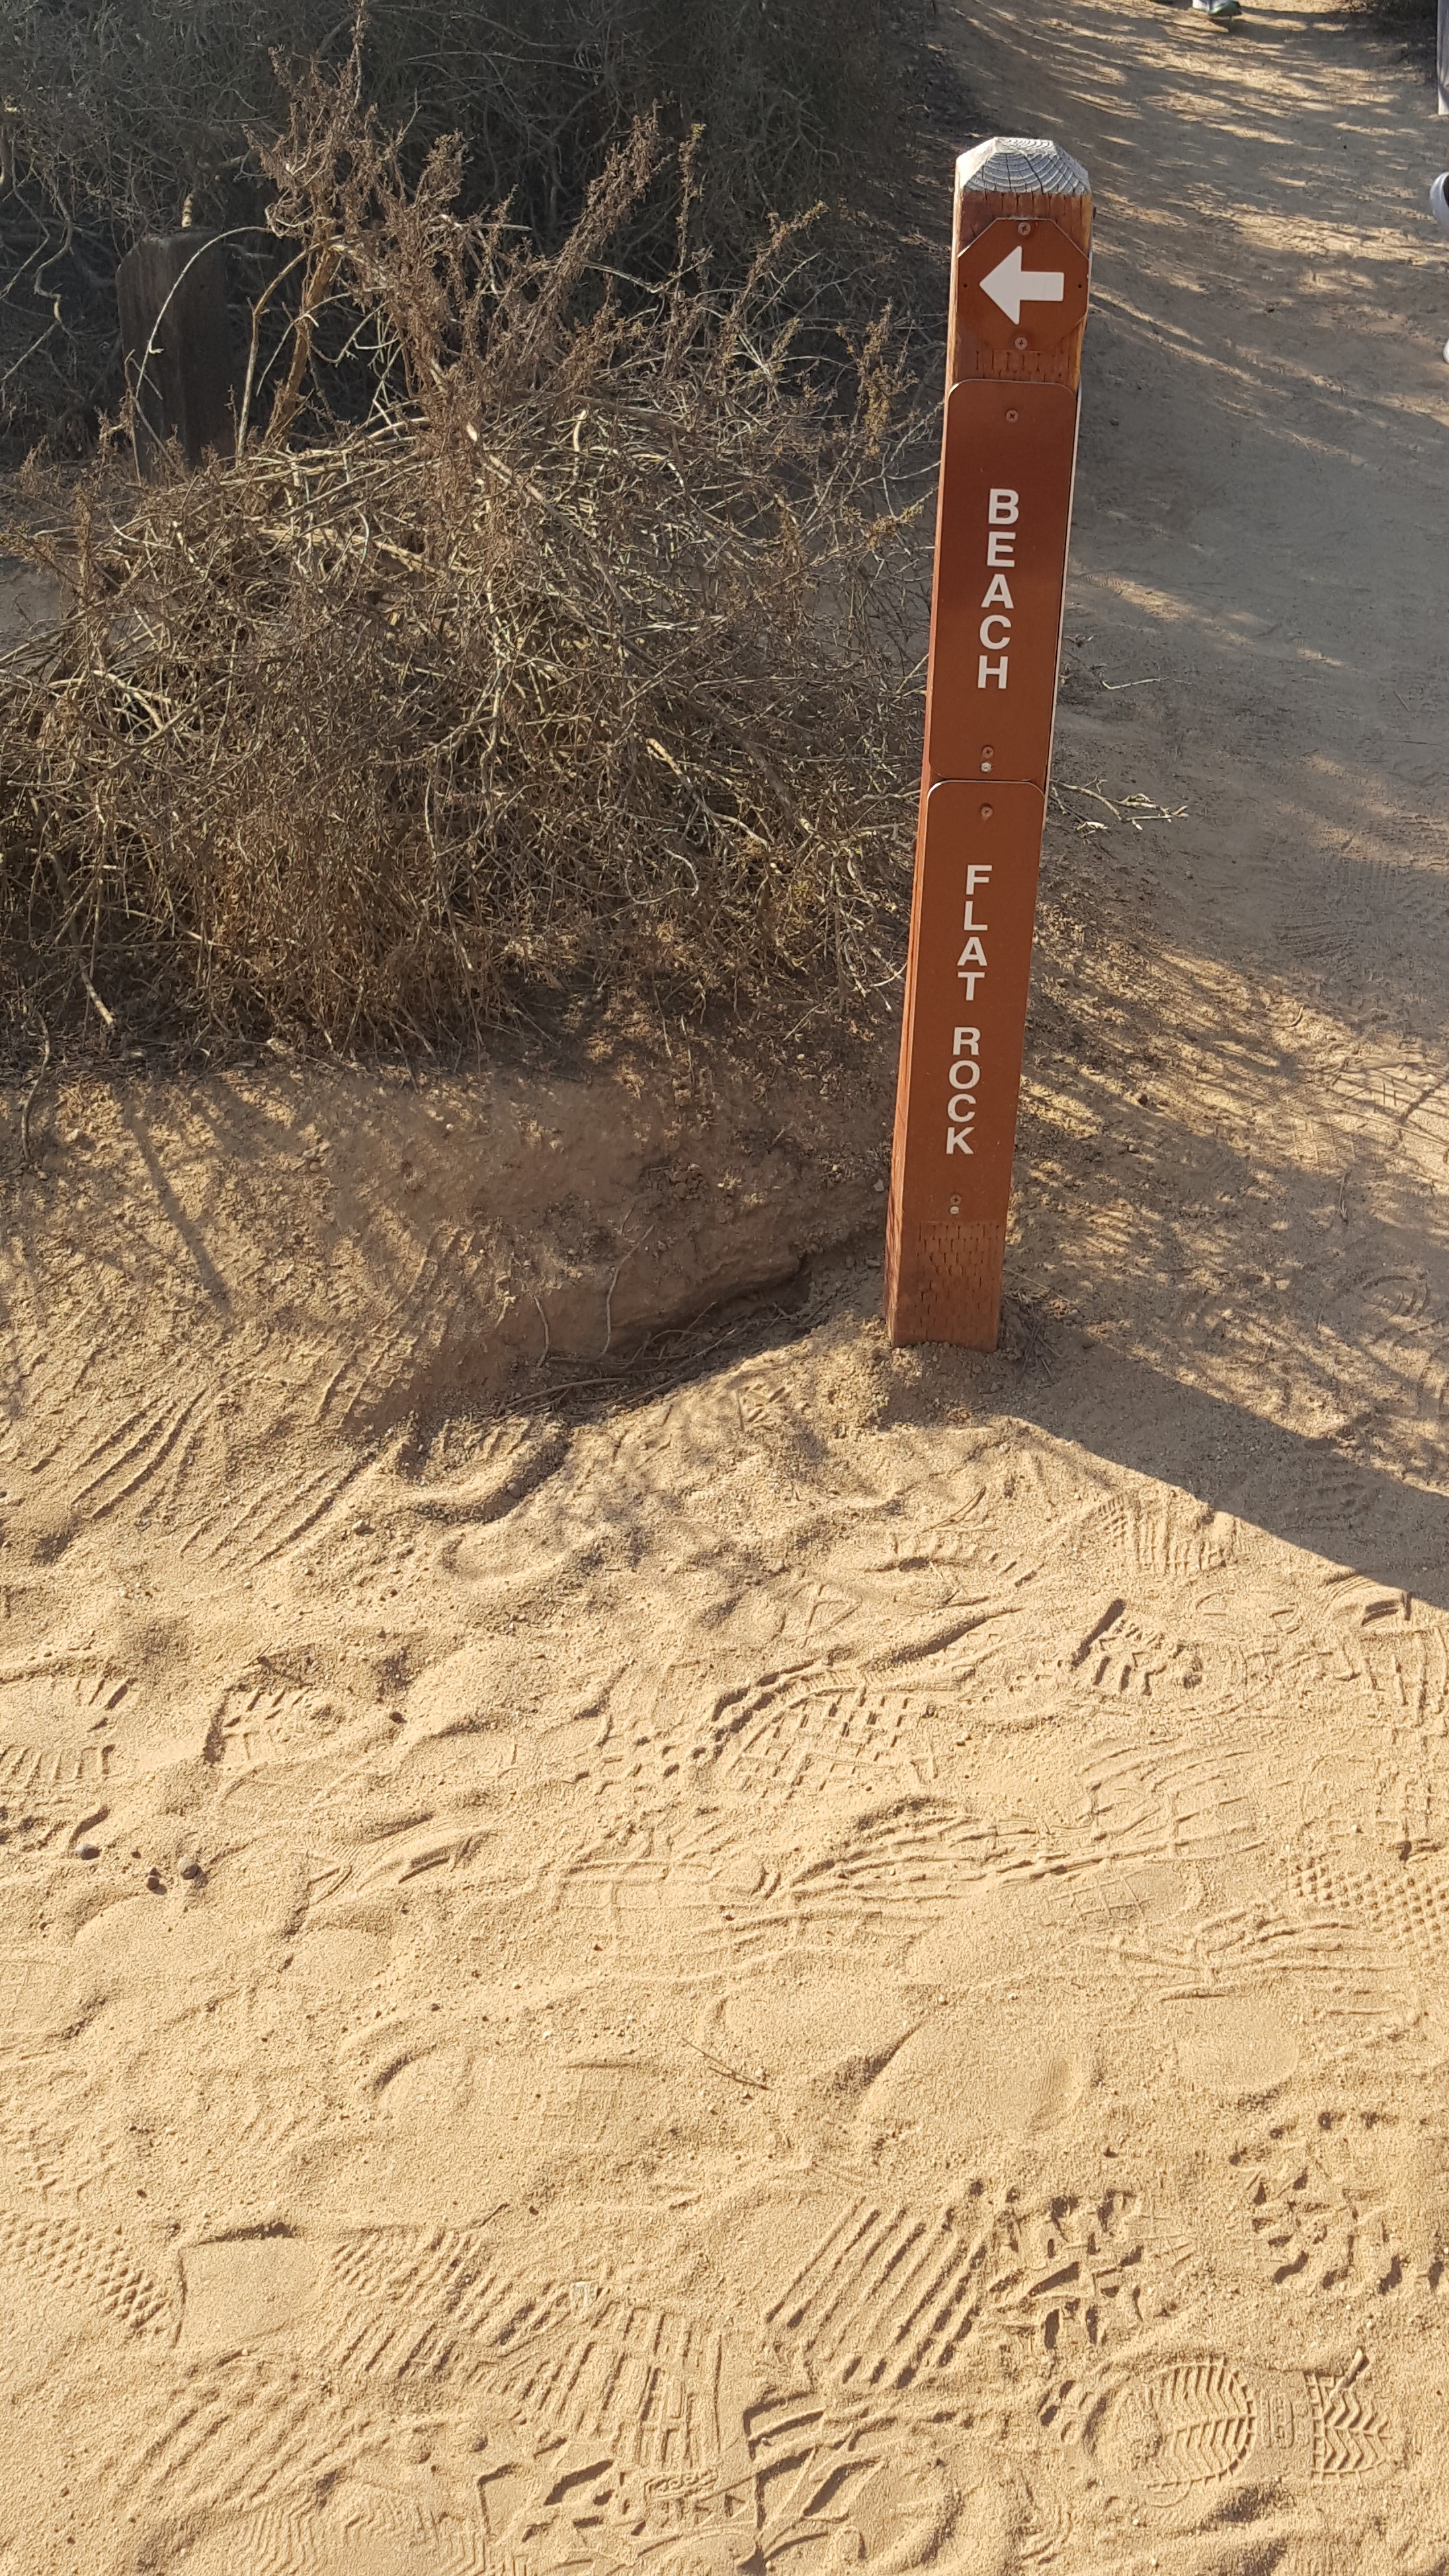
Once you park it is a roughly 300 yard walk until you reach the branch the takes you up the the top of the Lava Tube. It is very easy to miss the turn as it is unmarked. My husband and I missed it the first time and had to double back almost half a mile. The GPS coordinates for the Lava Tubes are 35.2163, -115.7515.

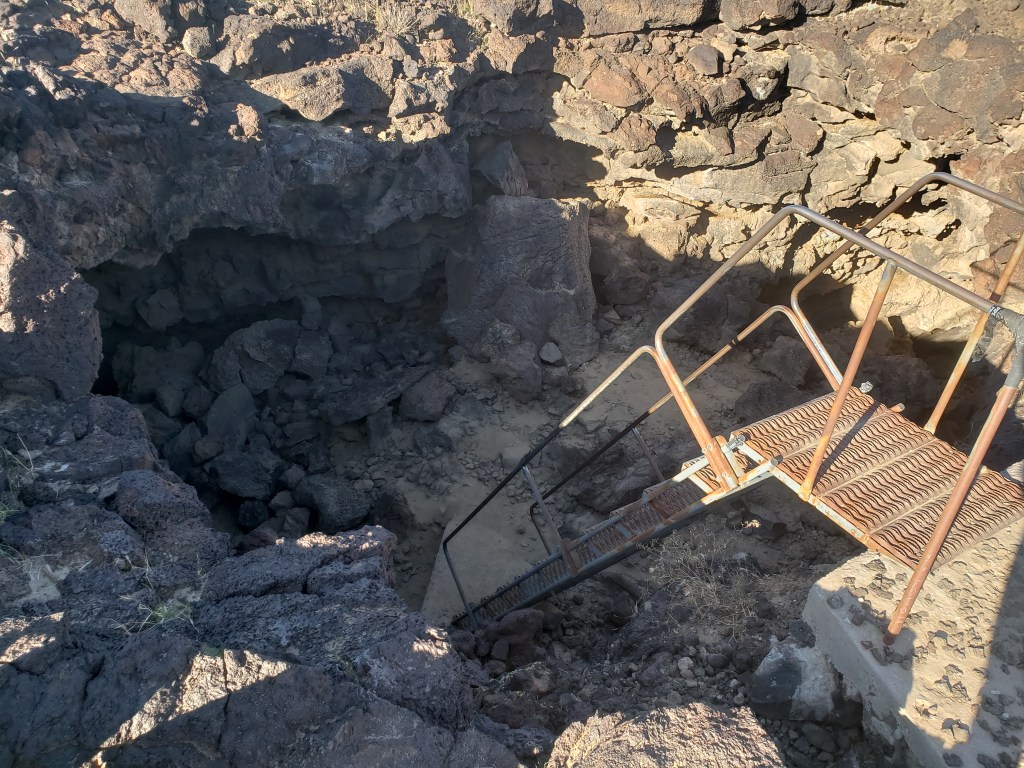
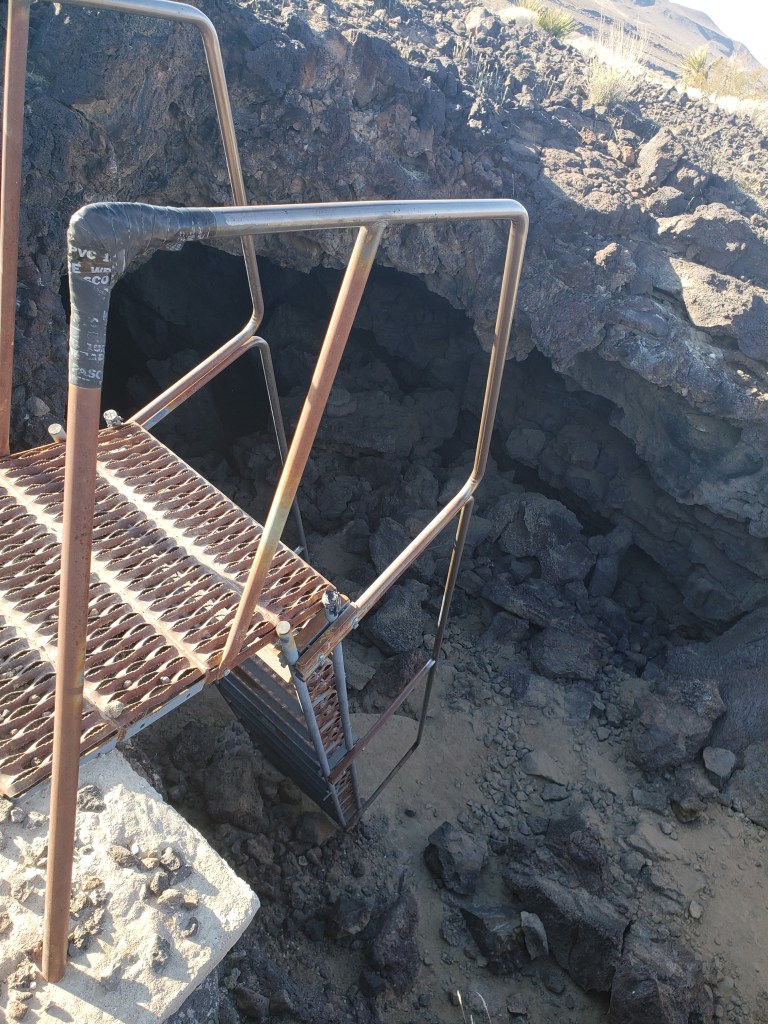
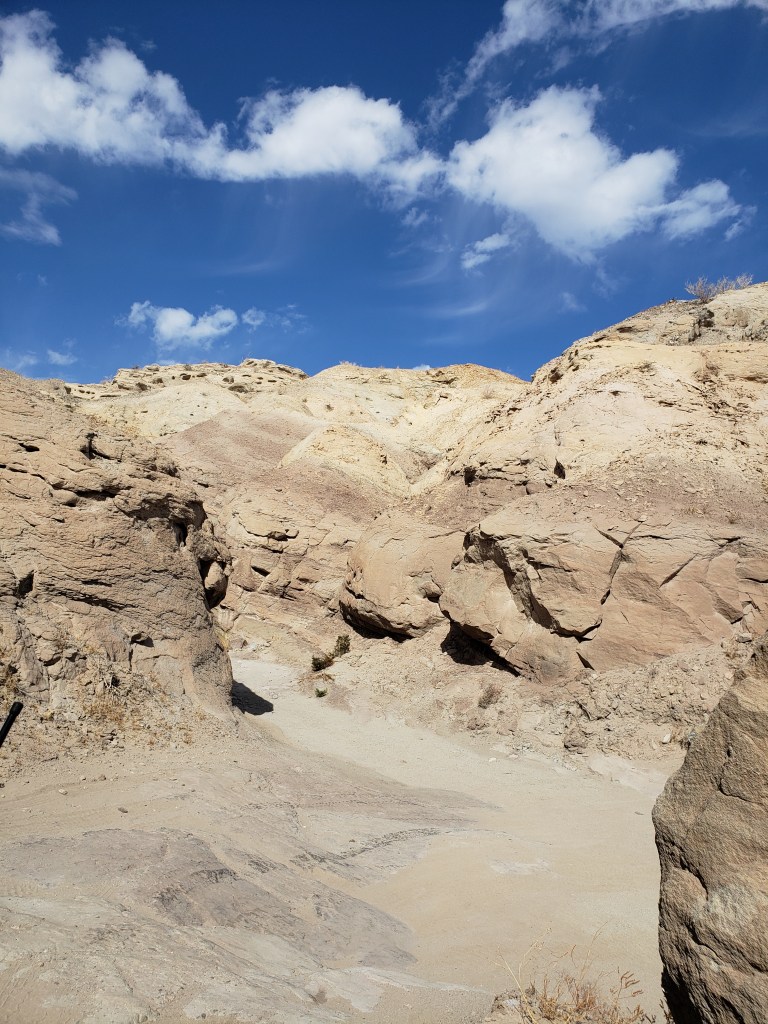
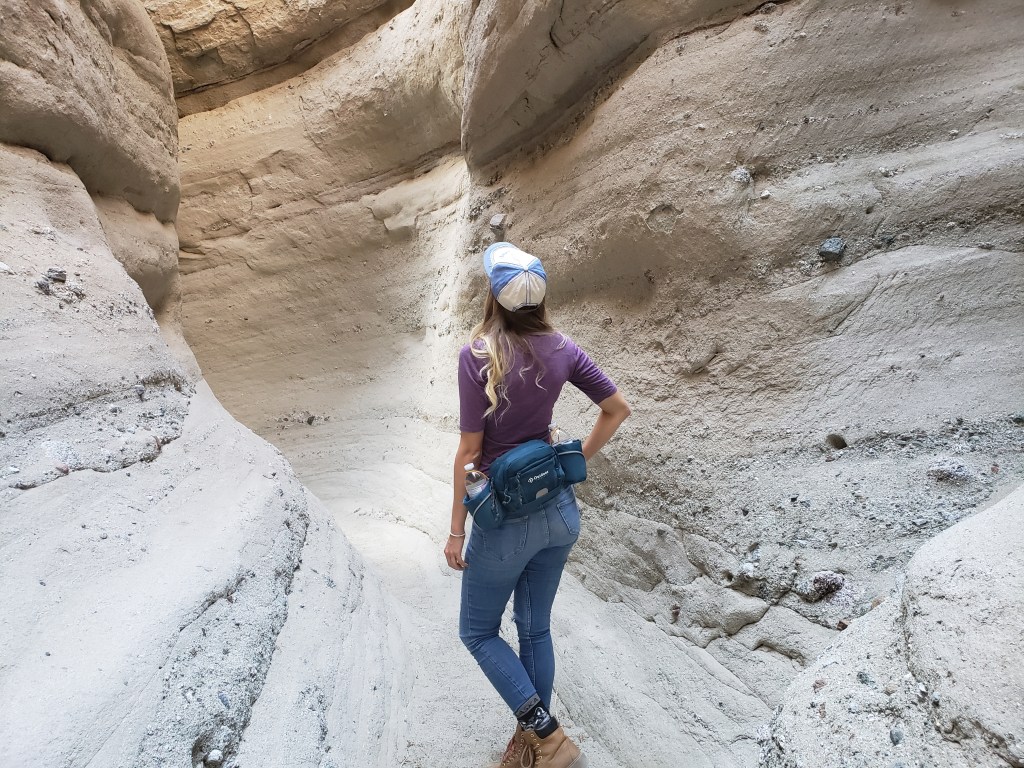
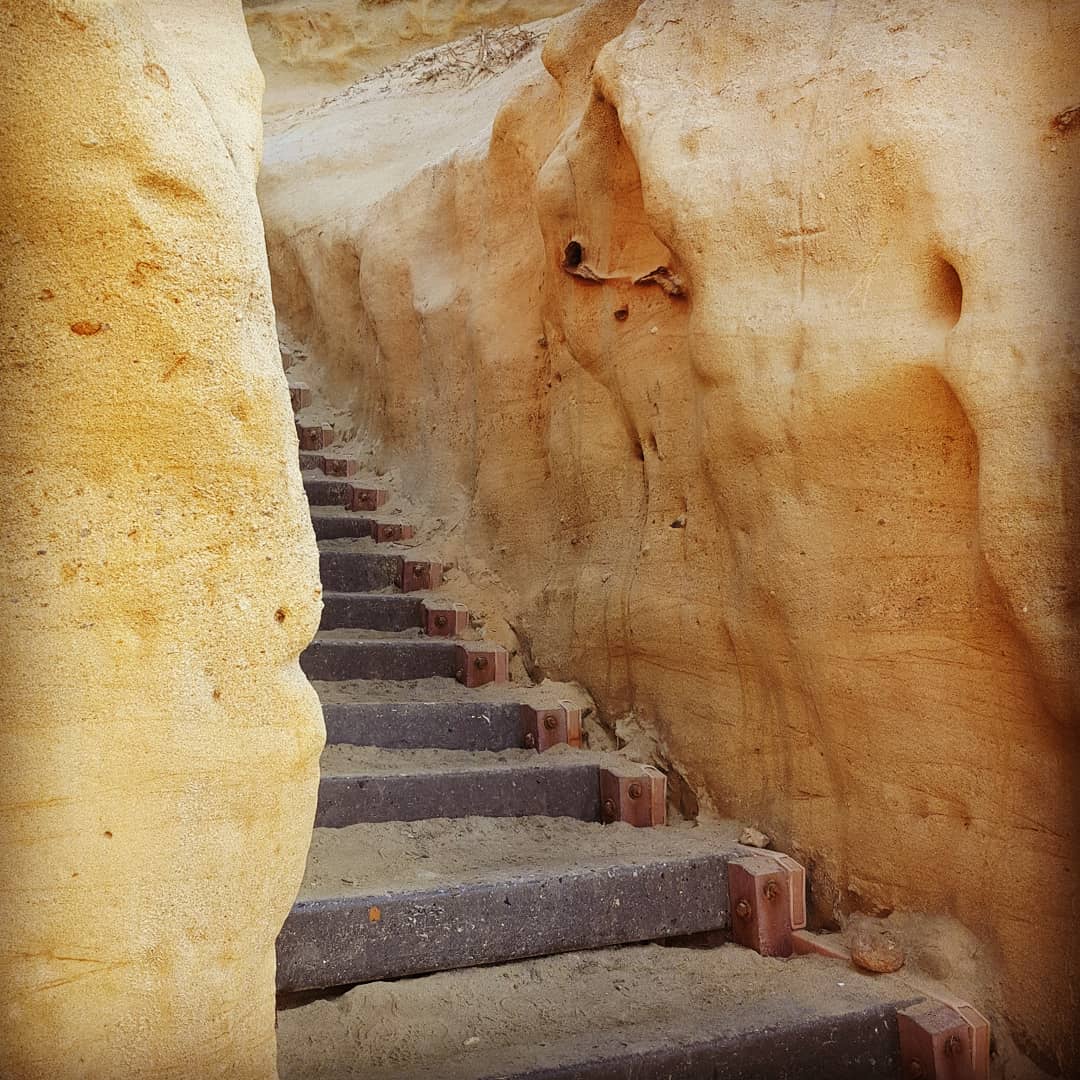
When you reach the entrance you will need to climb down stairs to reach the mouth of the Lava Tube. The stairs are very steep and it feels like you are climbing down a latter. Use Caution. The entrance into the lava tube looks dauting so be sure to follow the trail as closely as possible.

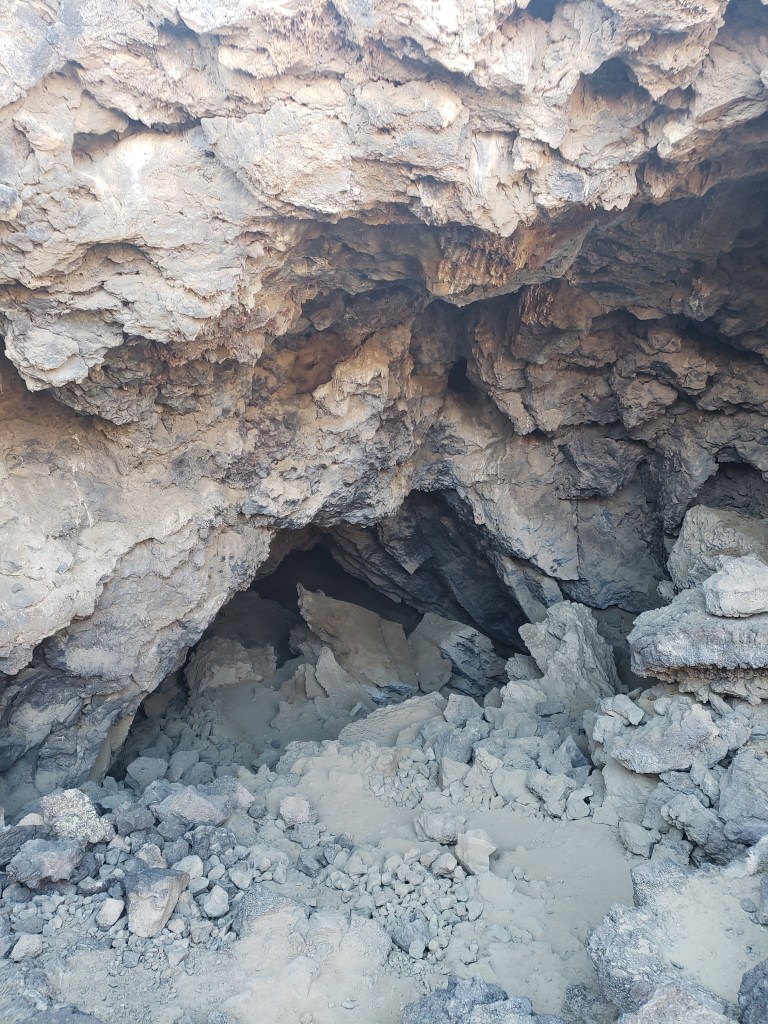
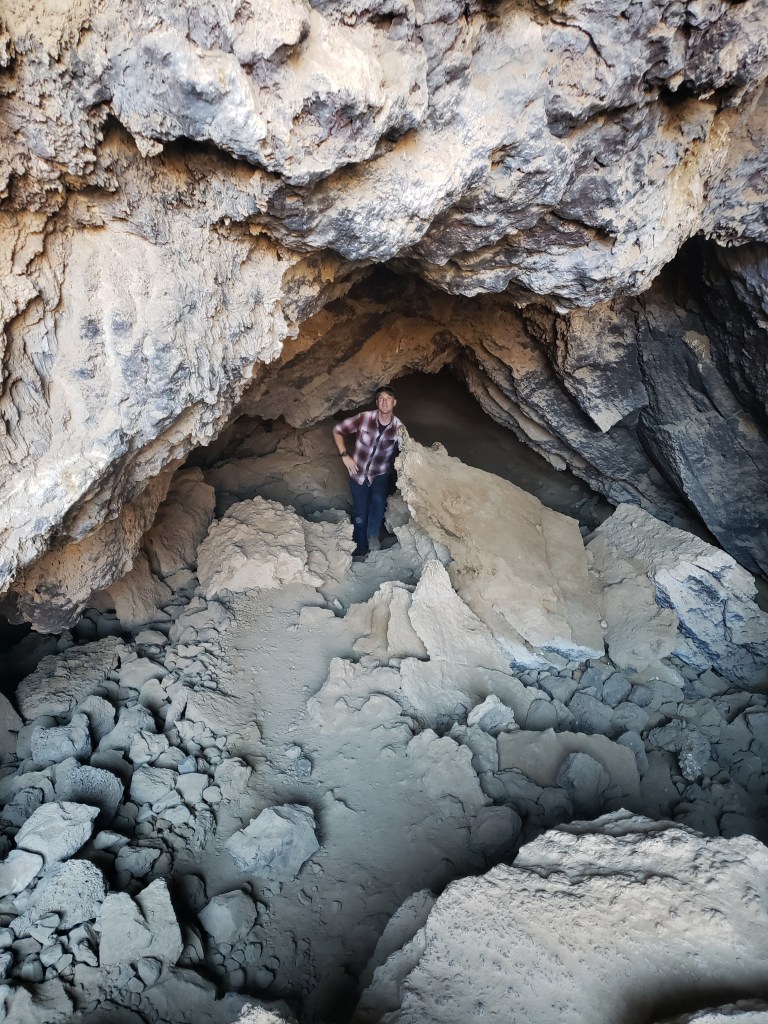
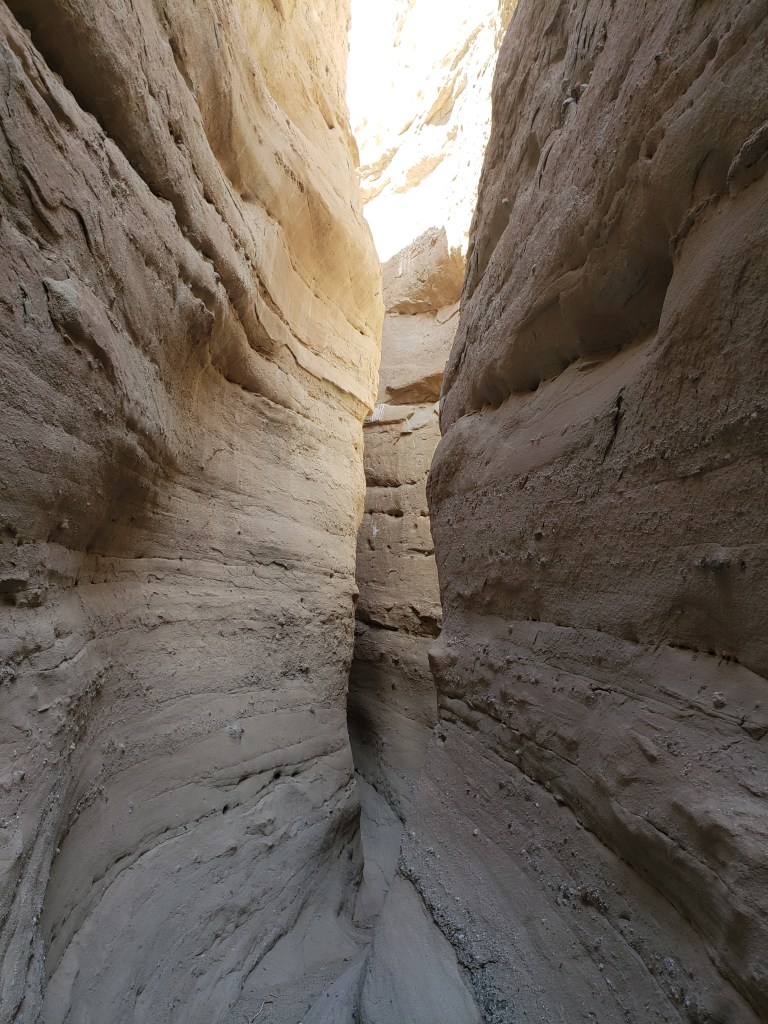
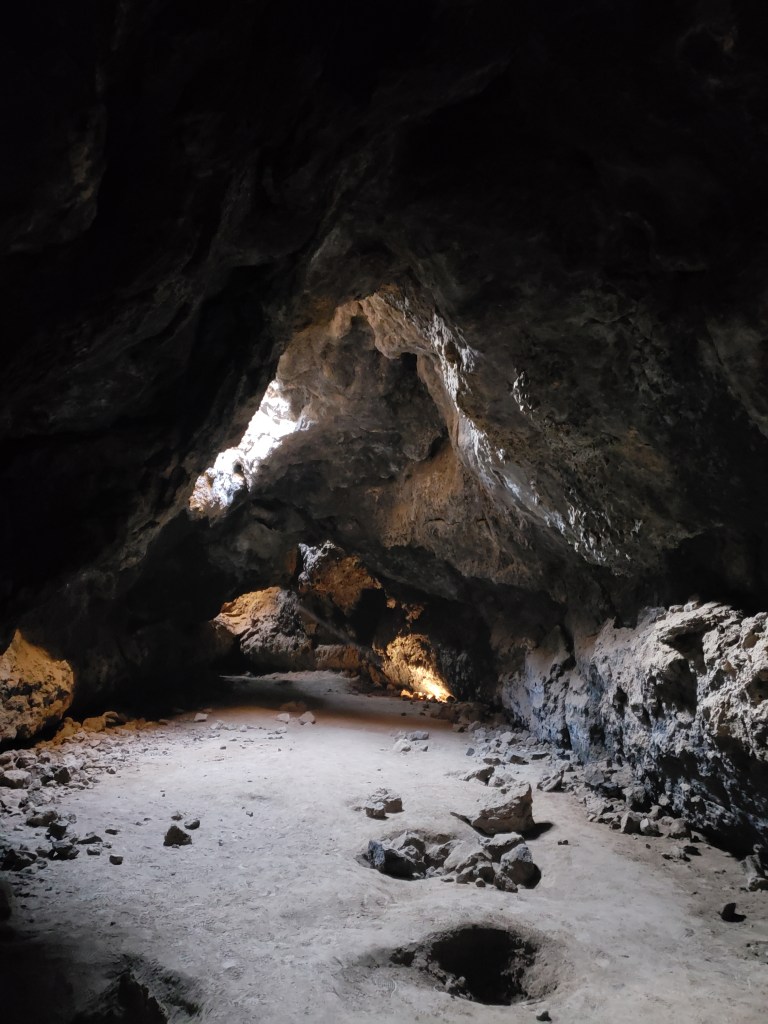
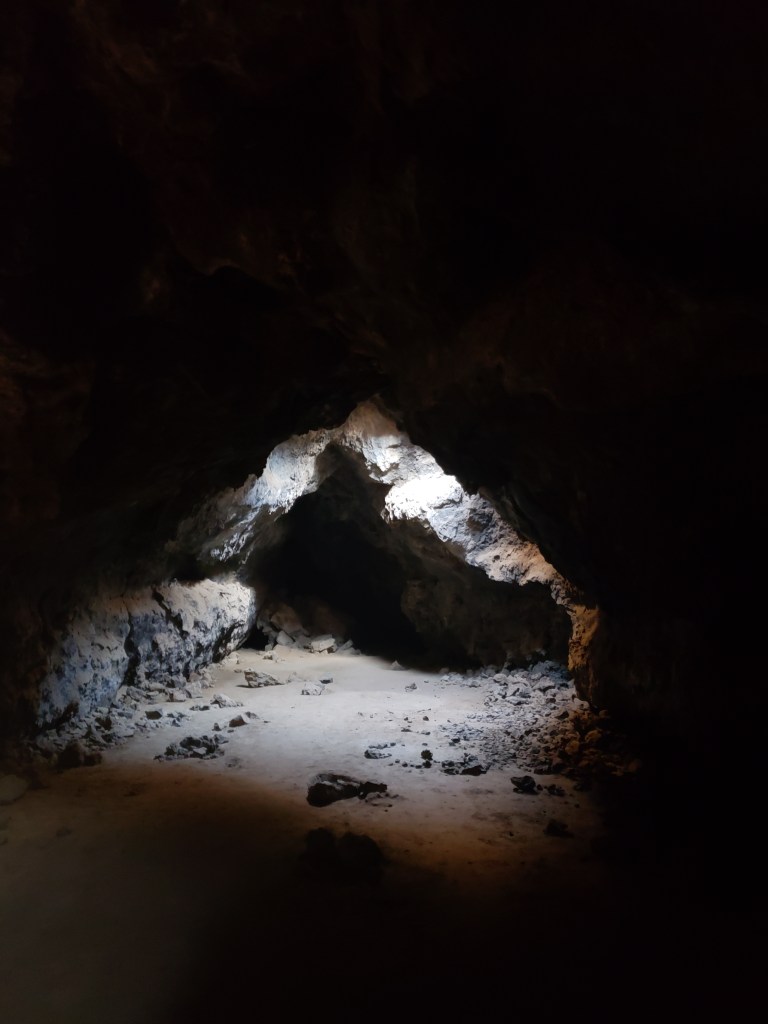
Once you enter the Lava Tube you will be amazed at the spectacular view. The natural skylights of the cave ceiling illuminate the walls dramatically. It is a great photo spot for those of you that are looking for your next perfect Instagram post.

I hope you all enjoyed this post. Leave a comment in the box below and let me know what you all think!

Happy Travels!

Advertisement

Calcite Mine Off road trail and Slot Canyon hike

One Jeep off road trail I recommend doing if you are around the Ocotillo Wells area is the Calcite Mine Trail. This desert trail located in sunny California is full of twists and turns and has gorgeous desert views. It also has a sandy wash were you can stop for lunch and then take the slot canyon hiking trail on foot.

Be Prepared:

This trail is not for the faint hearted. There are several sections where there were deep divots that made it difficult for our jeep to transverse it.

Our 1990 Jeep Cherokee has a 3.5 inch lift kit on 31 inch tires with limited slip differentials.
With this setup, we found a few technical areas on this trail but we were able to navigate through them
successfully. For more modern vehicles, a simple leveling kit (1-3 inches) and larger tires
would be suitable to tackle this trail. As for differentials, Limited Slips are ok, but
Lockers would be preferred.

And as always make sure you go with an off road buddy so if you break down you have someone there that can help you. And on this note…make sure you bring recovery tools for safety! This includes but is not limited to tow hooks, shackles, tow straps, shovel, and spare tire and change out equipment/tools. Finally, make sure you have plenty of snacks and water. It can get very hot out there! You don’t want to run out of water or food while you are waiting for help if you break down. Be sure to check the local weather before your trip, because this is a High Risk Flash Flood Area.

Calcite Mine Trail:

The Calcite Mine Trail is right off the S22. GPS coordinates to the trail head are 33.281185, -116.096511.The trail starts as soon as you pull of the road and is marked by a sign. Some hikers will hike the off road trail to the slot canyon so make sure you are on the look out for pedestrians while on the trail.

The jeep trail is a one way road so there will be vehicles coming back from the slot canyon hike that you will need to look out for. We had to back up on the trail several times to make room for oncoming vehicles. Our first time on the trail we actually passed the slot canyon trail head by accident. We met up with a couple jeepers at a further lookout point that helped guide us back to the trailhead. There is no sign marking the trail, it is just an opening in the canyon that you walk into. There is a wash that you can park your Jeep in as you hike. Make sure not to park in deep sand and get stuck!

Slot Canyon Hike

I love to hike and this section was my favorite park of the day. The slot canyons were amazing! It was a beautiful hike and it wasn’t very long. The trail ends when the slot canyon ends (it tapers to a rock wall that you can’t transverse) then you double back. The whole hike (there and back) is probably about a mile, mile and a half.

This was the end of the trail where we turned back.

Have fun and Be Safe!

I hope you enjoy this hike and jeep trail combination. Before going make sure you are familiar with the trail and layout. Also make sure you have a safety buddy and supplies needed for towing if necessary. Please be aware that our suggestions for off road builds above are just suggestions and that unforeseen circumstances can make any rig unable to do an off road trail.

My husband and I recently moved to Texas, so if you have any jeep trails you want us to explore in the area, drop it in the comment section below:

Have Fun, be safe, and Happy Travels!

Hiking Cliff Side at Torrey Pines

If you love the beach and warm weather then San Diego is the place for you. San Diego has many attractions including Old Town San Diego, the Harbor, Balboa Park, and the world famous San Diego Zoo. However, what many people don’t know is that there are many beautiful hiking spots in and around San Diego. One of my favorite hikes is in Torrey Pines.

Torry Pines is a state national reserve that includes a beach and dramatic seaside cliffs. To learn more about the reserve, and the current events happening there please visit: https://torreypine.org/. 

Hikers can drive to the visitor center at the Torrey Pines Lodge at the top of the mountain to park, or they can park at the sea side parking lot. Parking fees depend on the season and the time of week that you visit the reserve. Prices range between 12- 20 dollars per vehicle. Please visit the website to find exact pricing for when you visit.

There are many small intertwining trails that one can take, and depending on your preference the trails can be combined to create a loop that hikes down the cliffs and onto the seashore, then continues along the shore until you reach the sea side parking lot and from there you can walk up the mountain alongside the road. This will take you back to the parking lot located at the Torrey Pines Lodge  and Visitor Center.

The Beach Hike

For our hike we started at the trail head labeled “Beach Trail, Razor Point, Red Butte, and Yucca Point”.

We continued walking along this trail until we reached a left hand turn for “Beach, Flat Rock”.

You will follow this trail all the way to the beach. The trail is well maintained and has a nice sandy pathway. Be warned that there can be rattle snakes and that you will see many signs cautioning you to stay on the path to prevent running into one. We went hiking in the mid afternoon and the lighting was perfect for pictures!

After following the trail for awhile you will come to a stair case that will lead you directly onto the beach.

The beach has large pebbles and rocks of a variety of colors. If you go at low tide you can find many of these rocks while walking along the beach. Low and high tide times are on the Torrey Pines National Reserve Website listed earlier in the article. 

After walking along the beach we headed back to the staircase that led back to the hiking trails  located in the cliffs.

As mentioned before some hikers opt to hike the beach all the way back to the beach parking lot and hike up alongside the road instead.We opted to hike back the way we had come so that we could go to each of the look out points located among the cliffs. First we went to “Razor Point Overlook”. Then we went to “Yucca Point”. Yucca Point had the most beautiful views of the cliffs and oceans and this is where I took most of my pictures.

This beautiful tree was located on the trail head leading to Yucca Lookout Point.

We ended by going to “Red Butte”. This was a popular lookout point because it is very close to the parking lot at Torrey Pines Lodge. It was also very crowded and had similar views to the Yucca Point lookout.

Overall the hike was not very long and took us approximately 2 hours. This included stopping frequently to take pictures and taking a break at the beach to watch the waves. There are a lot of people who take the hiking trails so if you are looking for a quiet hike to get away from the city this might not be the trail for you. However, the views are spectacular and I believe it is a great place to get away and take some amazing pictures!

I hope this blog post was helpful, and if you have any questions about the trails feel free to comment below. Happy Travels!

***Disclaimer: I am not responsible for content on external websites listed on this blog post.

Joshua Tree National Park


What do you get when you mix deserts, giant boulders, and thunderstorms? An unexpectedly adventurous trip to Joshua Tree National Park! Needless to say there were some exciting events on my trip to the park that made it a weekend I will never forget.

First, finding an open campsite was very difficult. If you want to camp at Joshua Tree during the Fall, Winter, or Spring on the weekend you need to reserve a campsite, often weeks, if not months in advanced. I was lucky to get a canceled reservation at the Cottonwood Campgrounds at the south end of the Park. I was only able to get a one-night reservation. Getting a two-night reservation at the park on the weekend is extremely difficult to do last minute so if you are planning a spontaneous trip to Joshua Tree then try to go during the week when the park is less crowded.

Okay to give you the lay of the land so to speak…most of the main campsites are at the north end of the park where the Joshua Tree Forest is. The south end of the park does not have Joshua Trees. So, plan ahead on which attractions you want to see before going to the park. I highly recommend checking out the Joshua Tree National Park website to view a list of campsites and sites to see before heading to the park: https://www.nps.gov/jotr/index.htm.

Cottonwood Campground

The Cotton Wood Campground was very nicely set up with fire pits and picnic tables at every campsite. There were also flush toilets and well water available. Overall, I was impressed by how clean and organized everything was. Also, at our campsite there was a little Kangaroo Rat I named Fluffy. If you have never seen a Kangaroo Rat, they are the cutest things ever! Google it! The campground was also conveniently placed next to the Cottonwood Visitor Center for the park. Here there is a gift shop. Park rangers are also available to talk to about hiking and nature viewing options. This is also the place you can get the cancellations for your national park passports…if you have not started doing this I highly recommend it!

The passport books allow you to get a cancellation (or stamp as I like to call them). Every park has a cancellation and sticker that you can collect. The parks sell small and large collectible passports that you can put the cancellations and stamps in. It is so much fun, and admittedly I am addicted to trying to get as many cancellations as I can😊.

Mastodon Peak Hike

The Mastodon Peak Hike leaves out of Cottonwood Campground A. This hike was a 2.4 mile loop that took roughly an hour and a half. The trail was nicely maintained and had lots of signs to keep you going in the right direction (this is especially important to me because I tend to get very lost very easily). The trail is mostly through a dry riverbed and consists of very deep sand footing. You will get a great leg work out! The rock formations were spectacular and there were several signs to designate the different plants and flora on the trail.

The trail takes you to the Mastodon abandoned mine that is located beneath Mastodon Peak. The 0.1 mile detour hike to the top of Mastodon Peak is an unmaintained trail and included climbing over large boulders to reach the top. Use caution if climbing to the peak. The view from the top was spectacular and you could even see the Salton Sea in the distance (the title photo was taken from the lookout point).

On the way back you pass the Cottonwood Spring. You cant see the water directly but there are several large palm trees in the area that were very impressive. There is a trail head directly from the springs to the campground. You can use this to walk to the springs from the campground if don’t want to walk the whole trail. The Mastodon Peak trail itself is a full loop.

The Storm

Our one and only night at the park was very eventful. The night started out clear and by 9pm you could see the whole milky way. One of the reasons I came to the park was to see the stars and I was not disappointed. However, at roughly 12am a huge thunderstorm hit. Within an hour a flash flood roared through our campsite and washed away most of our stuff. Luckily, we were staying in a converted camper in the back of my boyfriend’s truck but other campers in our campground were not as lucky. Some people were washed away in their tents! No one was harmed and the people who were washed out of there tents were able to take shelter in the bathrooms of the campground. Firetrucks came to check on us at roughly 2am.  By morning the whole campground and park had been destroyed. We had planned to drive up to the northern end of the park to see the Joshua Trees but all the roads in the park had been washed out and the park was closed. Luckily we had a truck and were able to make it out but we had to avoid giant boulders that had been washed into the roads. It was definitely a trip to remember!

Overall the trip to Joshua Tree National Park was so much fun. The storm was unexpected and very scary but luckily no one was hurt. I would love to go back to the northern end of the park so I could actually see a Joshua Tree. But, I got the next best thing. At the visitor center they were selling Joshua Tree seeds. So of course I bought a pack so I can have my very own Joshua tree! Follow me on Instagram @adventuresinlife.blog to see updates on the tree’s growth!

I hope you found this post helpful and if you have any questions about the trip feel free to comment below. Also, I know your all wondering, Fluffy the Kangeroo Rat survived the storm. We saw Fluffy the next morning:) Check out my instagram for a video of Fluffy. Happy Travels!

***disclaimer: I am not responsible for content on external sites.